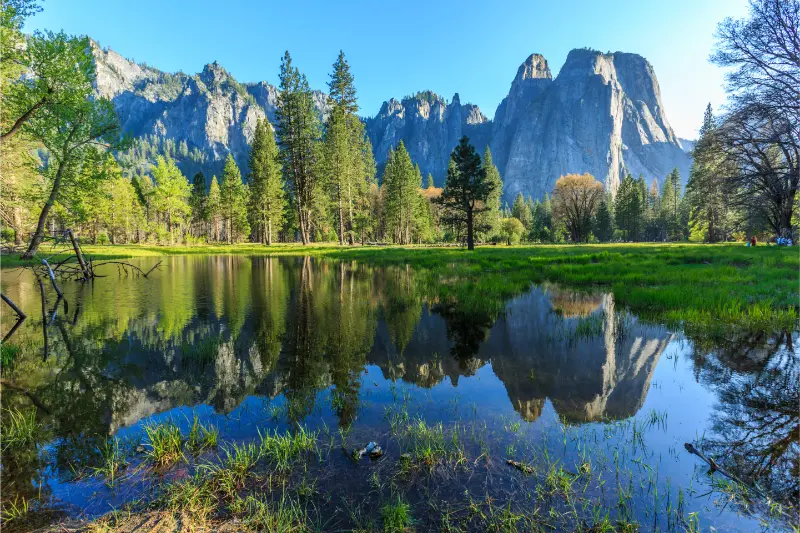
Yosemite is often presented through strenuous hikes, but that is a distorted picture of what makes the park extraordinary. Granite walls, Yosemite Falls, El Capitan, meadows and many classic viewpoints can be experienced with limited walking when the trip is designed around access from the beginning.
The National Park Service’s Yosemite accessibility page states that the free Yosemite Valley shuttle is fully accessible and links to an accessibility guide covering facilities and services. It also provides adapted Junior Ranger activities and other communication-access resources. Those details make Yosemite one of the easier major California parks to plan thoughtfully—provided lodging and transportation are booked early.
This guide complements my broader Accessible California article and first-time Yosemite guide. Here the priority is not “what can I still do?” but “which version of Yosemite gives me the strongest scenery with the least unnecessary friction?”
Quick planning summary
| Best for | Wheelchair users, travelers with limited stamina, multigenerational groups and companions planning access |
|---|---|
| Best base | Inside Yosemite Valley when available; El Portal is the closest practical alternative |
| Best seasons | Late spring–fall for broader road access; winter can be beautiful but requires more weather planning |
| Major tool | Free accessible Yosemite Valley shuttle |
| Key planning rule | Plan around accessible experiences you want, not around trails you cannot use |
Who this trip is really for
This guide is designed for first-time visitors who want a practical version of accessible Yosemite, not an itinerary that assumes unlimited time, perfect weather or endless energy. The strongest plan is the one that gives you a clear priority each day and leaves enough margin for parking, meals, road conditions and the unexpected. If your group includes children, older travelers or different interests, use the itinerary as a framework rather than a schedule you must obey minute by minute.
I also recommend deciding in advance what would make the trip feel successful. For some travelers that is one iconic view; for others it is history, food, a boat day, an accessible experience or simply a relaxed overnight. That decision prevents the common California mistake of driving farther just because another pin appears on the map.
A realistic itinerary
Day 1 — Yosemite Valley icons
Use an accessible parking area or shuttle to move between Yosemite Valley viewpoints. Prioritize Yosemite Falls viewing areas, Cook’s Meadow/boardwalk-accessible sections where conditions allow, El Capitan viewpoints and the valley visitor area. Schedule fewer stops than an able-bodied hiking itinerary because loading mobility equipment and waiting for shuttles take real time.
Day 2 — scenic roads and big viewpoints
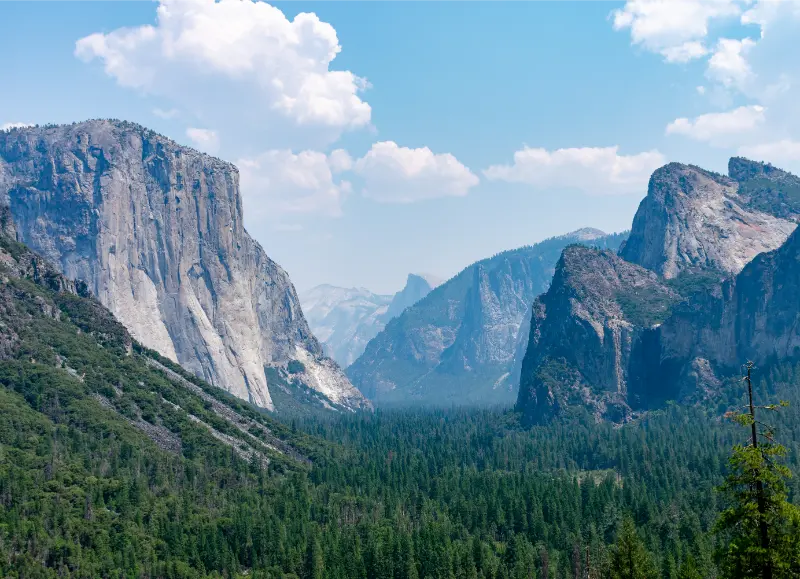
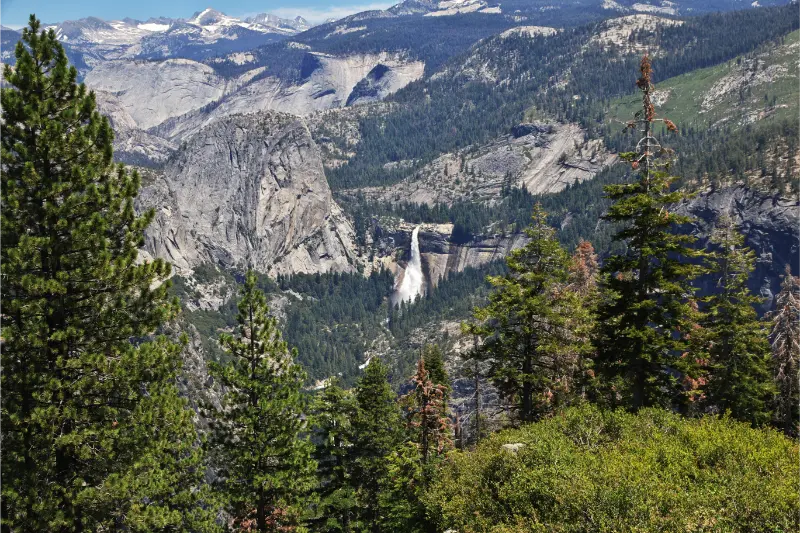
If Glacier Point Road is open and your mobility needs fit current facilities, a driving day can deliver exceptional high-elevation views with limited trail distance. Otherwise use Tunnel View, Valley View and additional Yosemite Valley stops. Road access changes seasonally, so the “best” second day depends on when you visit.
Day 3 option — Mariposa Grove or Tioga Road
These areas can add giant sequoias or high-country scenery, but accessibility logistics and seasonal openings require closer checking. Do not promise your group a specific shuttle, trail surface or parking arrangement until you review current NPS information for that season.
Getting there and getting around
Lodging location matters more for accessible Yosemite than for many visitors. An extra hour of driving each way from a distant town can exhaust the traveler before sightseeing begins. Inside-valley lodging is ideal when budget and availability allow; El Portal is usually the best compromise outside the park. See where to stay in Yosemite for the trade-offs.
The accessible Valley shuttle can reduce parking stress, but crowds can increase wait times. Travel outside peak commute-style periods inside the park and do not rely on one parking space near every attraction.
Best time to visit
Late spring through early fall gives the broadest road access, but summer crowds complicate parking and shuttles. Spring waterfalls are powerful and rewarding from accessible viewpoints. Fall has lighter crowds but shorter days and the possibility of early high-elevation snow. Winter can be peaceful if you are comfortable with snow/ice planning and chain rules.
Always check the NPS current conditions page immediately before travel. Yosemite can have an accessible facility in theory but a temporary closure, construction project or weather issue in practice.
Where to stay
If you require a roll-in shower, specific bed height or other hotel features, call the property directly after booking rather than relying only on a generic “accessible room” label. Ask exactly what you need. Inside Yosemite, accessible room inventory is limited and should be reserved as early as your trip allows.
El Portal is the closest practical outside base for many visitors; Mariposa, Oakhurst and Groveland offer more lodging but involve longer drives. The right choice depends on which park entrance and areas you plan to use.
Families, seniors and accessibility
Wheelchair users should download or save the official Yosemite accessibility guide before arrival. The NPS also provides resources for Deaf visitors, Braille materials, audio description and adapted Junior Ranger activities, making this planning relevant to more than mobility alone.
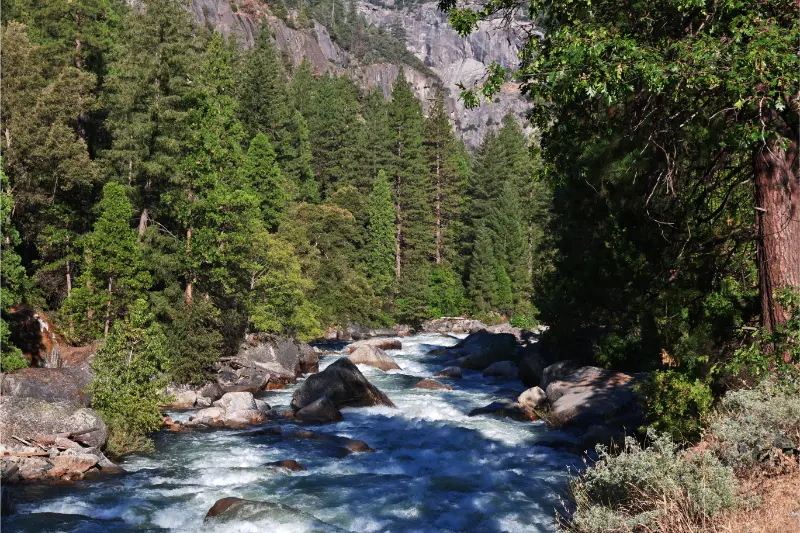
For travelers who can walk short distances but not sustained hills, carry a folding seat if appropriate and choose viewpoints with predictable surfaces. A companion should not assume that a “0.5-mile easy trail” is accessible; grade, surface and curb transitions matter more than mileage.
How to think about the budget
Accessibility can increase Yosemite costs because the most convenient lodging is often inside the park or very close to an entrance. I would prioritize location over a cheaper hotel that adds two hours of daily driving.
Parking placards and access programs can affect where you may park, but rules should be checked directly with NPS for your specific permit/placard situation. Do not rely on a travel blog to interpret legal parking eligibility.
Mistakes I would avoid
- Booking lodging before checking the bathroom configuration. “Accessible” is not specific enough.
- Planning around trail mileage instead of surfaces. Grade and pavement matter.
- Staying too far away. Extra driving consumes energy.
- Assuming every shuttle stop is equally easy at peak time. Crowds add friction.
- Ignoring seasonal road closures. Tioga and Glacier Point access can change the entire itinerary.
- Trying to replicate a hiking itinerary. Yosemite’s accessible viewpoints deserve to be the main plan, not a consolation plan.
One additional mistake is planning the day around the most optimistic drive time shown by a mapping app. California trips often involve parking searches, short walks, restroom stops, weather checks and slower scenic roads. A 30-minute buffer can be more valuable than another attraction on the list, especially when your next stop has fixed opening hours or when you are driving after sunset.
How to combine this with a larger California trip
If your California trip includes more parks, compare Yosemite with Sequoia/Kings Canyon carefully because access, roads and distances differ. My Yosemite vs Sequoia & Kings Canyon guide can help decide which landscape fits your group.
For an accessible-focused statewide route, pair Yosemite with cities and coastal destinations that have strong transit and paved waterfronts rather than stacking several rugged parks. The goal is variety without exhausting the traveler.
Practical planning notes before you leave
Check the official source for this trip shortly before departure: current visitor information. Opening hours, road access, parking, fire restrictions, shuttle schedules or facility conditions can change after an article is published. I prefer to keep the route flexible enough that one closure does not ruin the entire day.
Download the map or key directions before you leave reliable service, carry more water than you expect to need, and keep a light layer in the car even when the forecast looks warm. California’s coastal, desert, valley and mountain microclimates can make the temperature at your destination very different from the city where you started.
For a road trip, refuel before entering a sparsely serviced area and avoid arriving at an unfamiliar trailhead or rural lodging after dark. These are small decisions, but they are usually what separates a calm itinerary from one that feels rushed and fragile.
Frequently asked questions
Is Yosemite wheelchair accessible?
Many major Yosemite Valley facilities, viewpoints and the Valley shuttle are accessible, but not every trail or seasonal area is. Use the current NPS accessibility guide for details.
Is the Yosemite Valley shuttle wheelchair accessible?
NPS states that the free Yosemite Valley shuttle is fully accessible.
What is the best place to stay for limited mobility?
Inside Yosemite Valley is the most convenient when available. El Portal is generally the closest practical alternative outside the park.
Can I enjoy Yosemite without hiking?
Absolutely. Tunnel View, Valley View, Yosemite Falls viewpoints, meadows and other iconic scenery can be experienced with little or no strenuous hiking, depending on current access.
My final planning rule
An accessible Yosemite trip should not be designed as a reduced version of someone else’s hiking vacation. Build it around the valley’s huge visual rewards, accessible transportation and well-chosen lodging, and the park can still be one of the defining experiences of a California journey.
A simple decision framework for this trip
Before locking the itinerary, rank four things from most to least important: scenery, history or culture, food and comfort, and active outdoor time. Then protect the top two priorities. If scenery is first, schedule viewpoints for the best daylight and let a museum become optional. If comfort is first, choose the closest practical lodging and cut a long detour. If family time is first, reduce the number of transitions between car, parking area and attraction. This sounds simple, but it prevents a destination from becoming a collection of errands.
I would also create one Plan B that uses the same overnight base. Weather, smoke, road work, crowds or a closed facility should change the day, not force you to rebuild the entire trip. A good Plan B usually swaps an outdoor block for a town, museum, meal or shorter scenic drive. Keeping the same hotel avoids cancellation stress and lets you decide the night before or even that morning.
Finally, separate the things that require reservations from the things that do not. Reserve lodging, timed tours and limited-capacity transport first. Leave viewpoints, casual meals and flexible walks unbooked when possible. The resulting day has structure where you need it and freedom where you benefit from it.