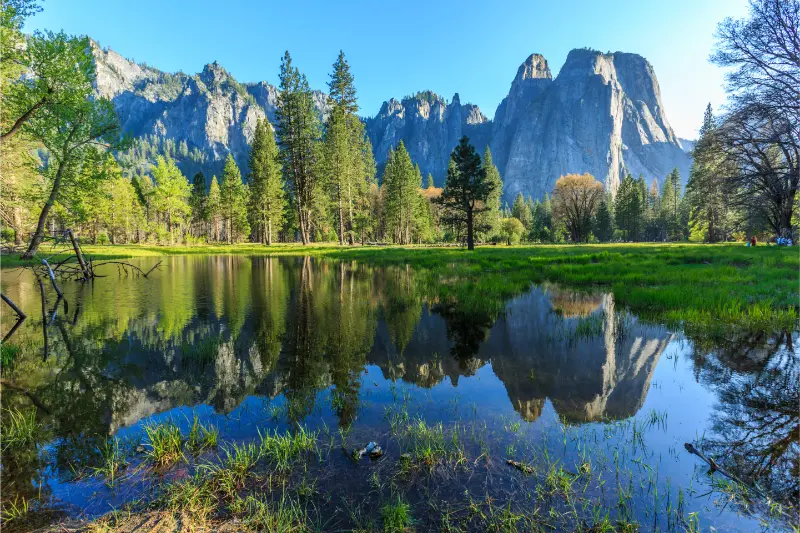
Waterfalls are one of Yosemite’s defining experiences, but they are highly seasonal. A traveler visiting in May can see a completely different park from someone arriving in September. That makes waterfall planning less about collecting names and more about understanding snowmelt, access and which viewpoints fit your group.
Use the official Yosemite waterfall information and current conditions before your trip. Our first-time Yosemite guide covers lodging and overall park strategy; this article focuses on waterfall timing and viewpoints.
When are Yosemite waterfalls strongest?
In a typical year, many waterfalls are strongest in spring as Sierra snow melts. Peak timing varies with the winter snowpack and spring temperatures. By late summer, some falls may shrink dramatically or dry up, while others continue at reduced flow.
Do not interpret “best month” as a guarantee. A heavy snow year and a dry snow year behave differently. Check live conditions and recent photographs as your travel date approaches.
Yosemite Falls
Yosemite Falls is one of the most recognizable waterfall systems in the park and can be seen from multiple places in Yosemite Valley. The lower fall area is accessible via a relatively easy loop that works for many families and first-time visitors.
The Upper Yosemite Fall hike is a completely different undertaking: steep, long and strenuous. Do not choose it simply because the name sounds like an extension of the lower-fall walk.
Bridalveil Fall
Bridalveil is one of the classic Valley waterfalls and often creates powerful spray during high flow. Viewpoint access and trail conditions can change with maintenance, weather and water levels, so check current status before building the stop into your arrival route.
Vernal and Nevada Falls
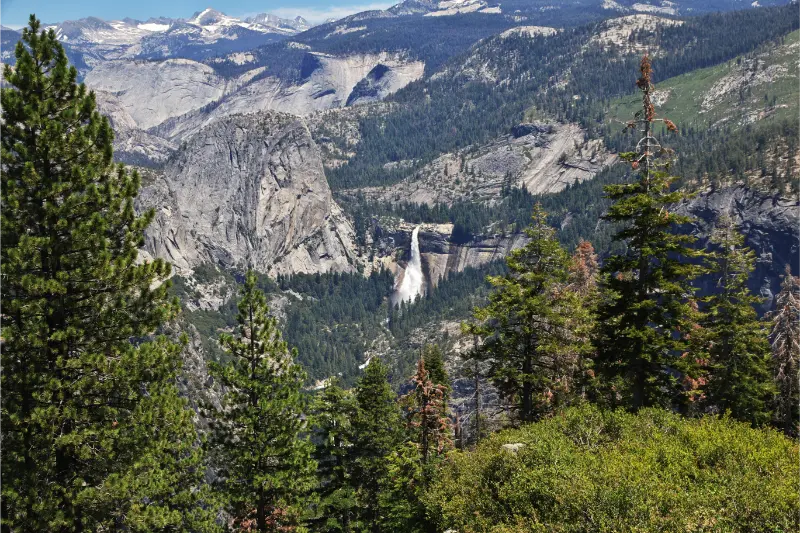
The Mist Trail corridor offers some of Yosemite’s most memorable waterfall hiking, but it is not a casual stroll. Stone steps can be wet and slippery, spray can soak clothing and crowds can slow movement. Families should decide based on children’s hiking experience rather than age alone.
Footbridges and lower viewpoints can provide a meaningful waterfall experience without completing the full climb. Turn around before the group is exhausted; the descent still requires attention.
Easy waterfall experiences for families
Lower Yosemite Fall, Valley viewpoints and roadside/short-walk views can deliver a complete waterfall day without strenuous hiking. Combine two easy experiences with a meadow, picnic and shuttle ride instead of forcing one long climb.
Our Yosemite with kids guide includes a broader family pacing strategy, while Yosemite in two days shows how to fit waterfall stops into a first-time itinerary.
Best time of day
Morning can be calmer at popular trailheads and is usually better for serious hikes. Afternoon light can improve some photographs, but crowds and parking pressure may be higher. During peak spring flow, spray and wet surfaces can make temperature feel cooler than expected.
Parking and shuttle strategy
Yosemite Valley parking can fill early on busy days. Park once when possible and use the shuttle, walking paths or bicycles. Moving the car between every waterfall wastes time and contributes to congestion.
If your lodging is outside the Valley, start early. Spring waterfall season overlaps with very popular travel periods, so transport planning is as important as trail choice.
What to wear
Bring shoes with good grip, especially for wet trail sections. A light waterproof layer can be useful near high-flow falls even on a sunny day. Keep electronics protected from spray and bring an extra layer for children who get cold after becoming damp.
Older travelers and limited mobility
Yosemite Valley provides excellent waterfall views without demanding long hikes. Choose paved or short routes, use shuttles strategically and stop at open viewpoints. The goal does not need to be reaching the base of every fall.
Check Yosemite’s accessibility resources for current accessible trails, parking and shuttle details before travel.
Waterfall safety
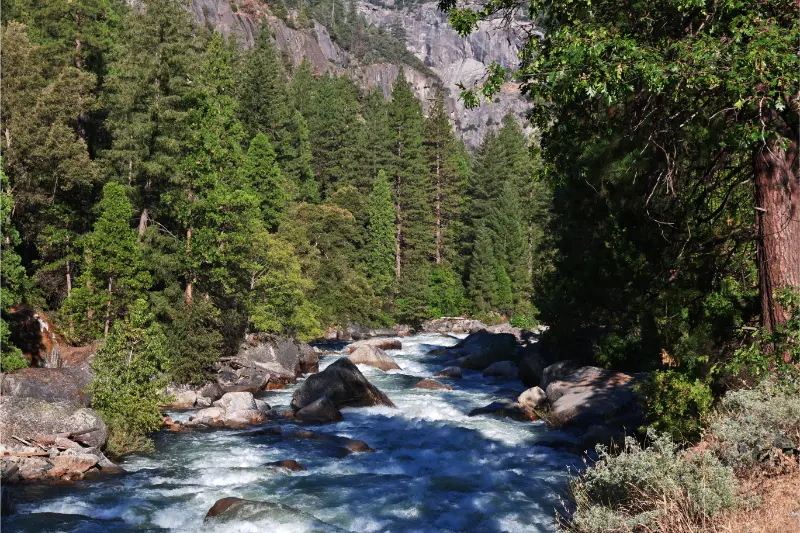
Fast water is dangerous. Stay behind barriers, keep children away from slippery edges and never enter water above a waterfall. Snowmelt-fed streams can be far stronger and colder than they appear.
Rock surfaces beside waterfalls can be polished and wet. A photograph is not worth stepping beyond safe areas.
A realistic spring waterfall day
Early morning: park in Yosemite Valley and walk the Lower Yosemite Fall loop. Mid-morning: meadow views and a shuttle transfer. Late morning: choose Bridalveil or a short viewpoint depending on access. Lunch: picnic or Valley service area. Afternoon: begin the Mist Trail only as far as your group’s experience and energy justify, or substitute an easy Valley walk.
Late-summer strategy
If waterfall flow is low, shift the trip toward granite viewpoints, meadows, giant sequoias and higher-elevation scenery. Yosemite is still worth visiting; it is simply a different park experience. Do not build an August trip around the expectation of peak spring water.
Common mistakes
- Assuming all waterfalls flow strongly year-round.
- Treating Upper Yosemite Fall as an easy extension of the lower loop.
- Moving the car for every Valley stop.
- Ignoring wet, slippery trail conditions near high flow.
- Pushing children or older relatives onto a strenuous hike because the waterfall is famous.
Which waterfalls should a first-time visitor prioritize?
For a short first trip in strong-flow season, prioritize Yosemite Falls, Bridalveil Fall and one Vernal/Nevada Falls viewpoint appropriate to your hiking ability. That combination gives you iconic scale, easy access and a taste of Yosemite’s more active trail experience without turning the visit into a waterfall checklist.
A few final planning notes
California trips are easier when you leave a little slack in the day. Traffic, parking, weather, timed-entry systems and simple travel fatigue can all change the pace. Build the day around one or two priorities, keep a backup option nearby and check the official site again shortly before you go. That approach is especially useful for families, older travelers and anyone who prefers a calmer itinerary rather than a checklist.
For accommodation, favor the base that reduces your hardest travel day rather than the one that looks best on a map. For transportation, compare the cost of parking and rideshare with the value of having a car available. If you are combining this stop with a longer California road trip, avoid changing hotels for a single attraction unless the transfer clearly saves time the following morning.
Finally, keep seasonal conditions in mind. Coastal fog, desert heat, mountain snow and wildfire smoke can affect completely different parts of the state on the same day. A good California itinerary is flexible enough to absorb those differences without ruining the trip. The articles linked above can help you build alternatives around the same region.
How to fit this stop into a larger California trip
The most efficient way to use this experience is to group it with places in the same part of the state. California distances are deceptive: two attractions can both be described as being in Los Angeles, San Francisco or a national park region and still require a meaningful transfer. Before adding another stop, compare real drive or transit time at the hour you expect to travel, not only straight-line distance. A good day normally has one major anchor, one secondary activity and enough unstructured time for meals, parking and delays.
If this is your first California trip, protect the places you care about most by putting them earlier in the day or earlier in the itinerary. Weather, wildfire smoke, road work, timed-entry systems and sold-out parking can all force changes. A flexible backup nearby is more useful than an ambitious list on the opposite side of the city or region. Families and multigenerational groups should also plan around the slowest realistic pace in the group, not the fastest person.
Budget and booking strategy
The headline ticket price is only one part of the cost. Parking, fuel, rideshare, food, special exhibits, lockers and reservation fees can matter just as much. Before booking, compare the total day cost and decide which extras genuinely improve the visit. Free attractions can become expensive when reached by repeated rideshare trips, while a paid attraction near your hotel may be the better value because it saves time and transportation.
Book only the elements that are capacity-limited or difficult to replace, and keep the rest of the day flexible. If a ticket has a fixed entry time, schedule a generous arrival buffer. If no reservation is required, early morning is often the easiest option for parking and crowds. Always use the official website for the final check because operating calendars, temporary closures and special-event rules can change after an article is published.
A slower alternative
Not every traveler wants a full sightseeing schedule. A slower version can be better: choose the single experience that matters most, add a relaxed meal nearby and leave the rest of the day open. This works especially well for older travelers, parents with small children and anyone recovering from a long flight or several road-trip days. California rewards repeat visits, so there is no advantage in exhausting yourself simply to say you saw one more attraction.
Before you leave
Check the official site one final time on the morning of the visit. Confirm weather, road or transit conditions, parking instructions, accessibility needs and any reservation requirements. Carry water, a phone charger and a light layer appropriate to the region. Most importantly, give yourself permission to shorten the plan if the day is more crowded, hotter, colder or more tiring than expected. A well-paced California trip is usually more memorable than a perfectly completed checklist.